やってしまいました。飲み物をキーボードにこぼす、少なからずみなさんも経験あるのではないでしょうか。
一般的なWindowsのキーボードだと、キートップ外して、洗ってということが簡単にできますが、僕が使っているのはApple Magic Keyboard (2021)です。
どうしよう・・・買い直しか・・・と頭真っ白になりました。
とりあえず、まずは急ぎ電源落として(ワイヤレスなので)、ティッシュで拭きましたが、キーボードと鉄板の隙間に侵入したであろうことは間違いなしで、テッシュを水で濡らして少し拭き取ってみました。
なんとかキーの感触は大丈夫そうな感じはしたのですが、少し時間経って乾いたからでしょう、明らかにキーの動きが変です。キーの跳ね返りがものすごく悪く、動きが重いです。
とは言えキーを打てば結果は画面に反映されているので、電気的にキーボードがNGになったということではなさそうなので、単純にキーの可動パーツが飲み物によってベタついたような状態になってると判断しました。
I did it. I’m sure you’ve probably spilled a drink on your keyboard before.
With a standard Windows keyboard, you can easily remove the keytops and wash them, but I use the Apple Magic Keyboard (2021).
I was thinking, “What should I do…Ah…is it buy a new one…?
First of all, I hurriedly turned off the power (since it is wireless) and wiped it with a tissue, but there was no doubt that drink must have invaded the gap between the keyboard and the steel plate, so I wet the tissue with water and wiped it a little.
I managed to get the keys to feel OK, but the keys were clearly moving strangely, probably because they had dried after a little time had passed. The keys bounce very poorly and the movement is heavy.
However, when I hit a key, the result is reflected on the screen, so it does not seem that the keyboard has become electrically NG, so I decided that the moving parts of the keys are simply sticky from the drink.
そこで純水で洗い流す事を考えました。
不純物のない水で洗う事で、電化製品が壊れずに済むという話があります。マシンルームのスプリンクラーで使うと、サーバが壊れずに済むというのを聞いた事があります。
とはいえ、純水を買って洗い流すのは流石に勇気が入ります。ググってみると、キートップ分解している人たちがいました、いました。
ネットに出ている事例は少し古いキーボードですが、おそらく同じ原理で外せるんだろうと思い挑戦しました。
(正直かなり一か八かでキーボード壊す覚悟で始めました)
So I thought about washing it down with pure water.
There is a story that washing with impurity-free water can keep appliances from breaking down. I have heard that using it in the sprinklers in the machine room will keep the servers from breaking.
However, it takes a lot of courage to buy pure water and wash it out. I googled and found people who have disassembled keytops, and they were there.
The examples on the Internet are a bit older keyboards, but I thought it was probably possible to remove them using the same principle, so I gave it a try.
(To be honest, I was pretty much ready to break the keyboard at one point or another, so I started.)
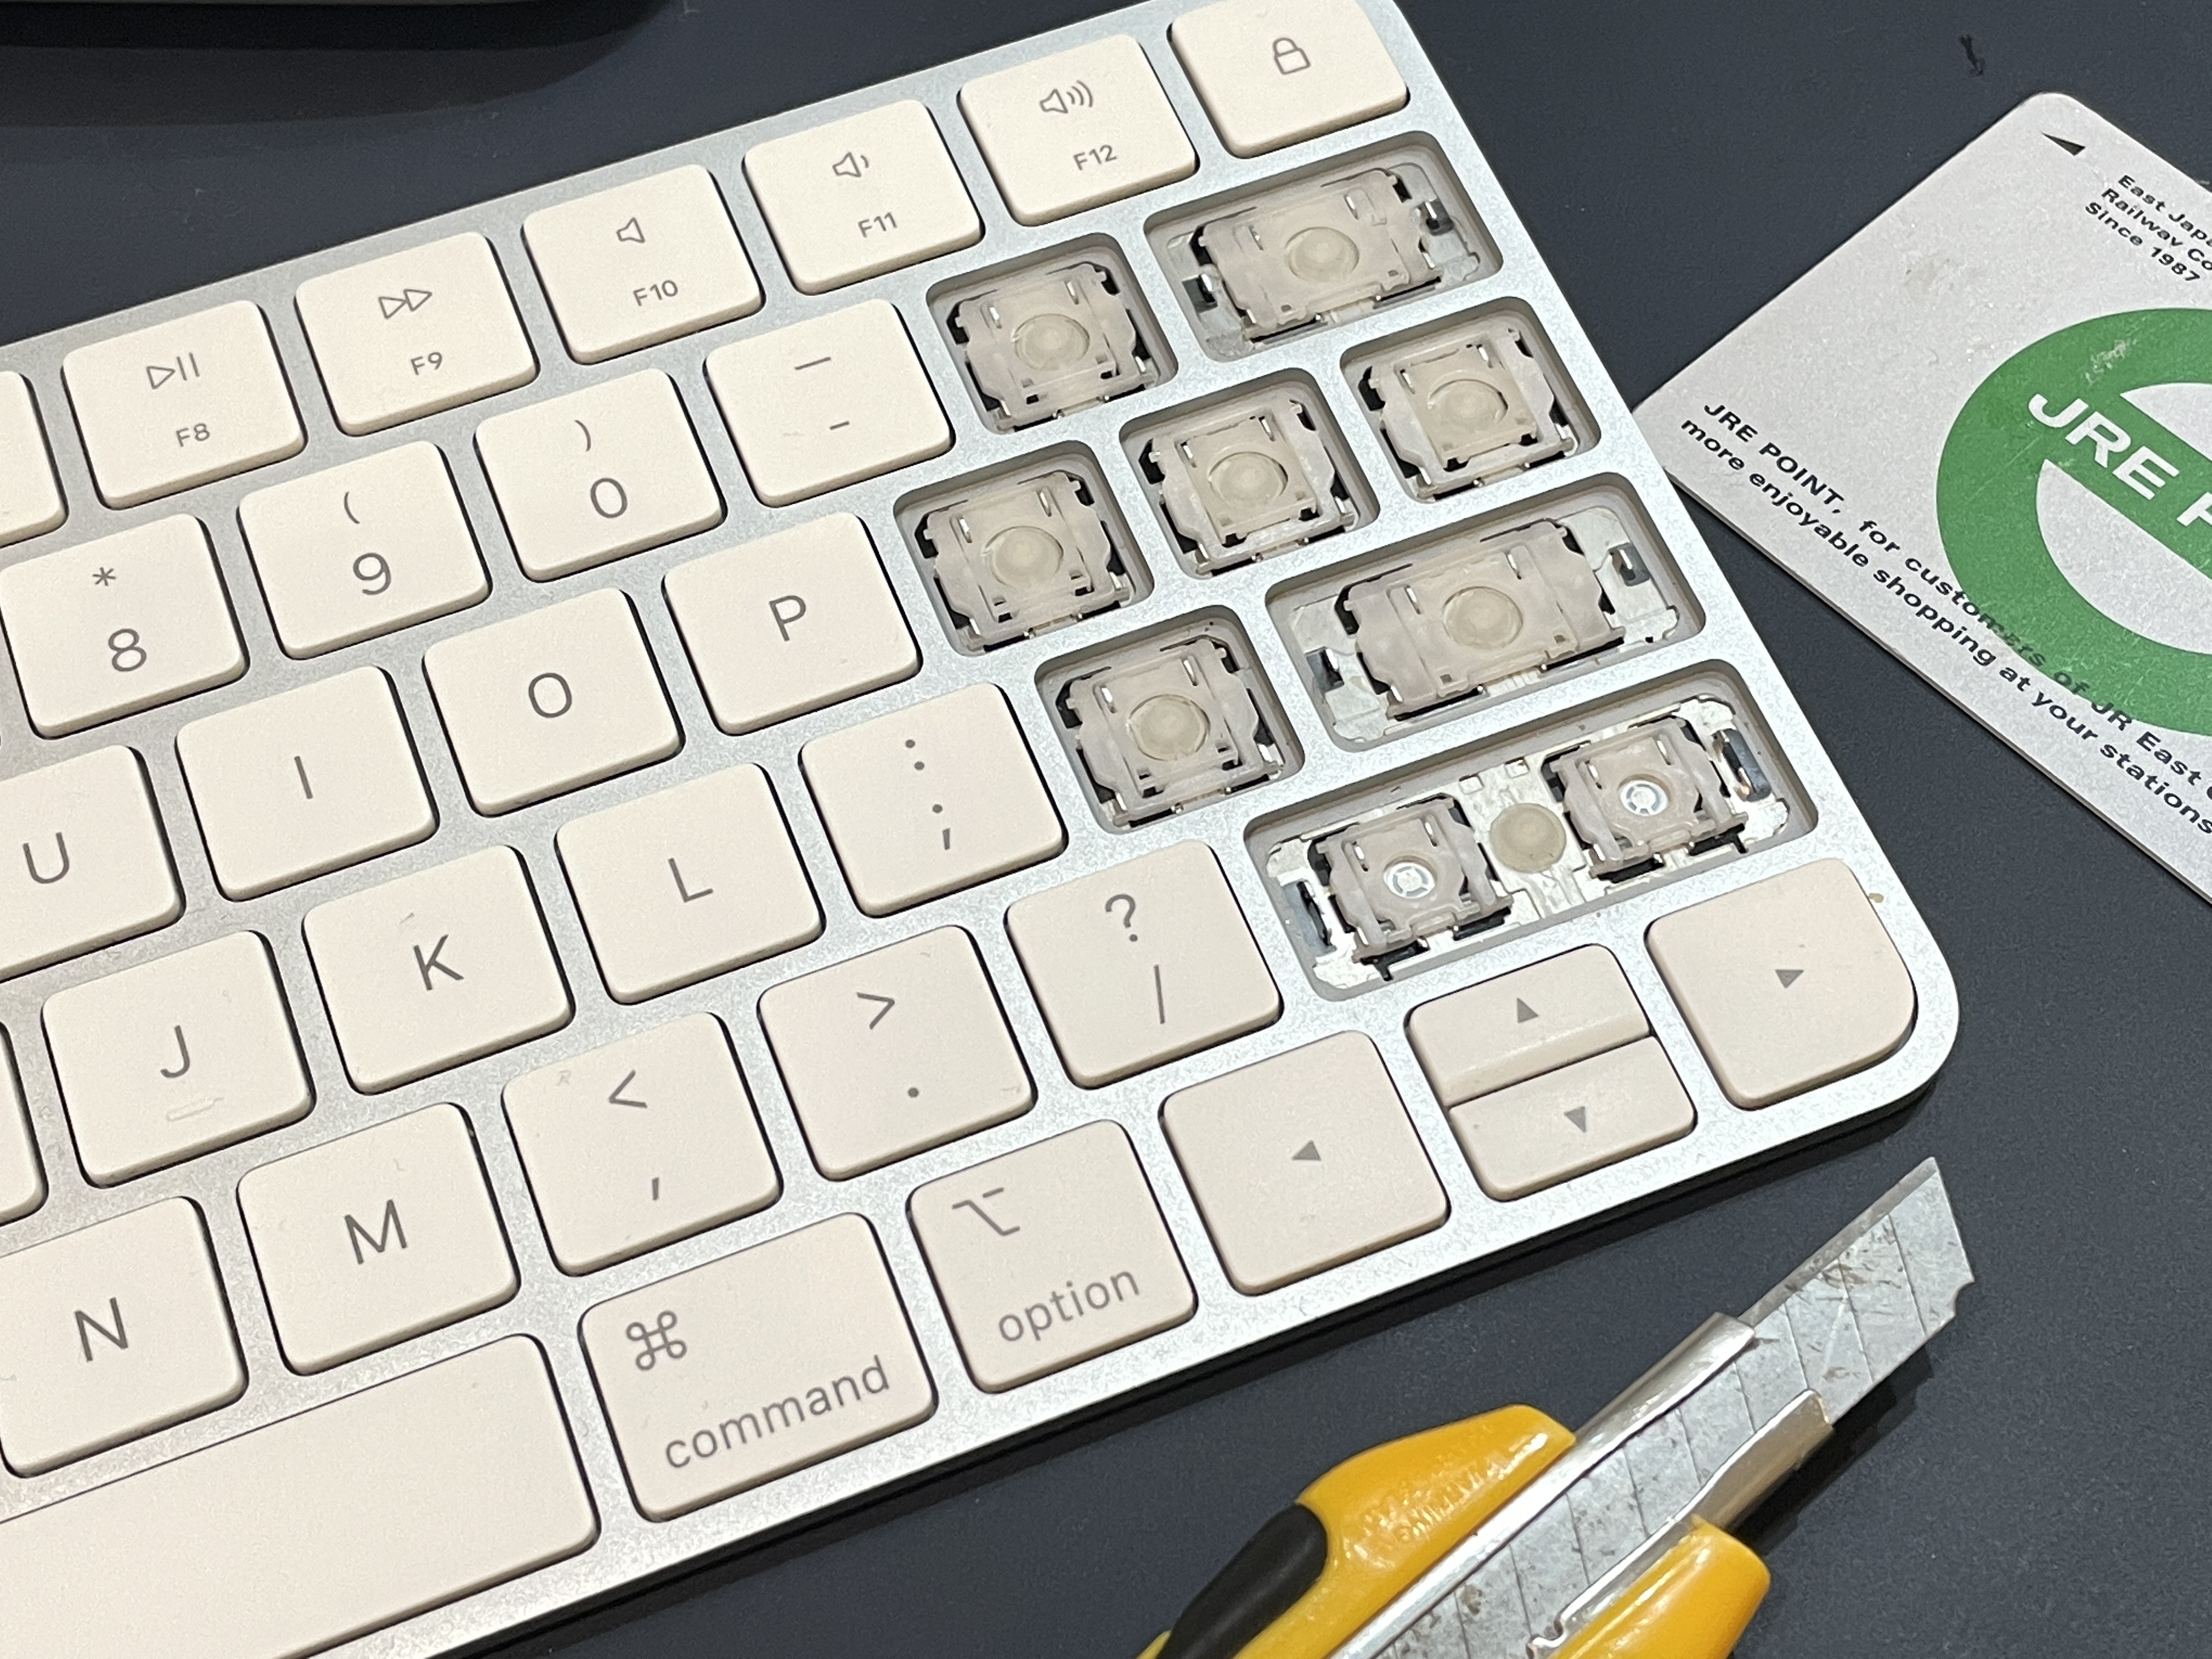
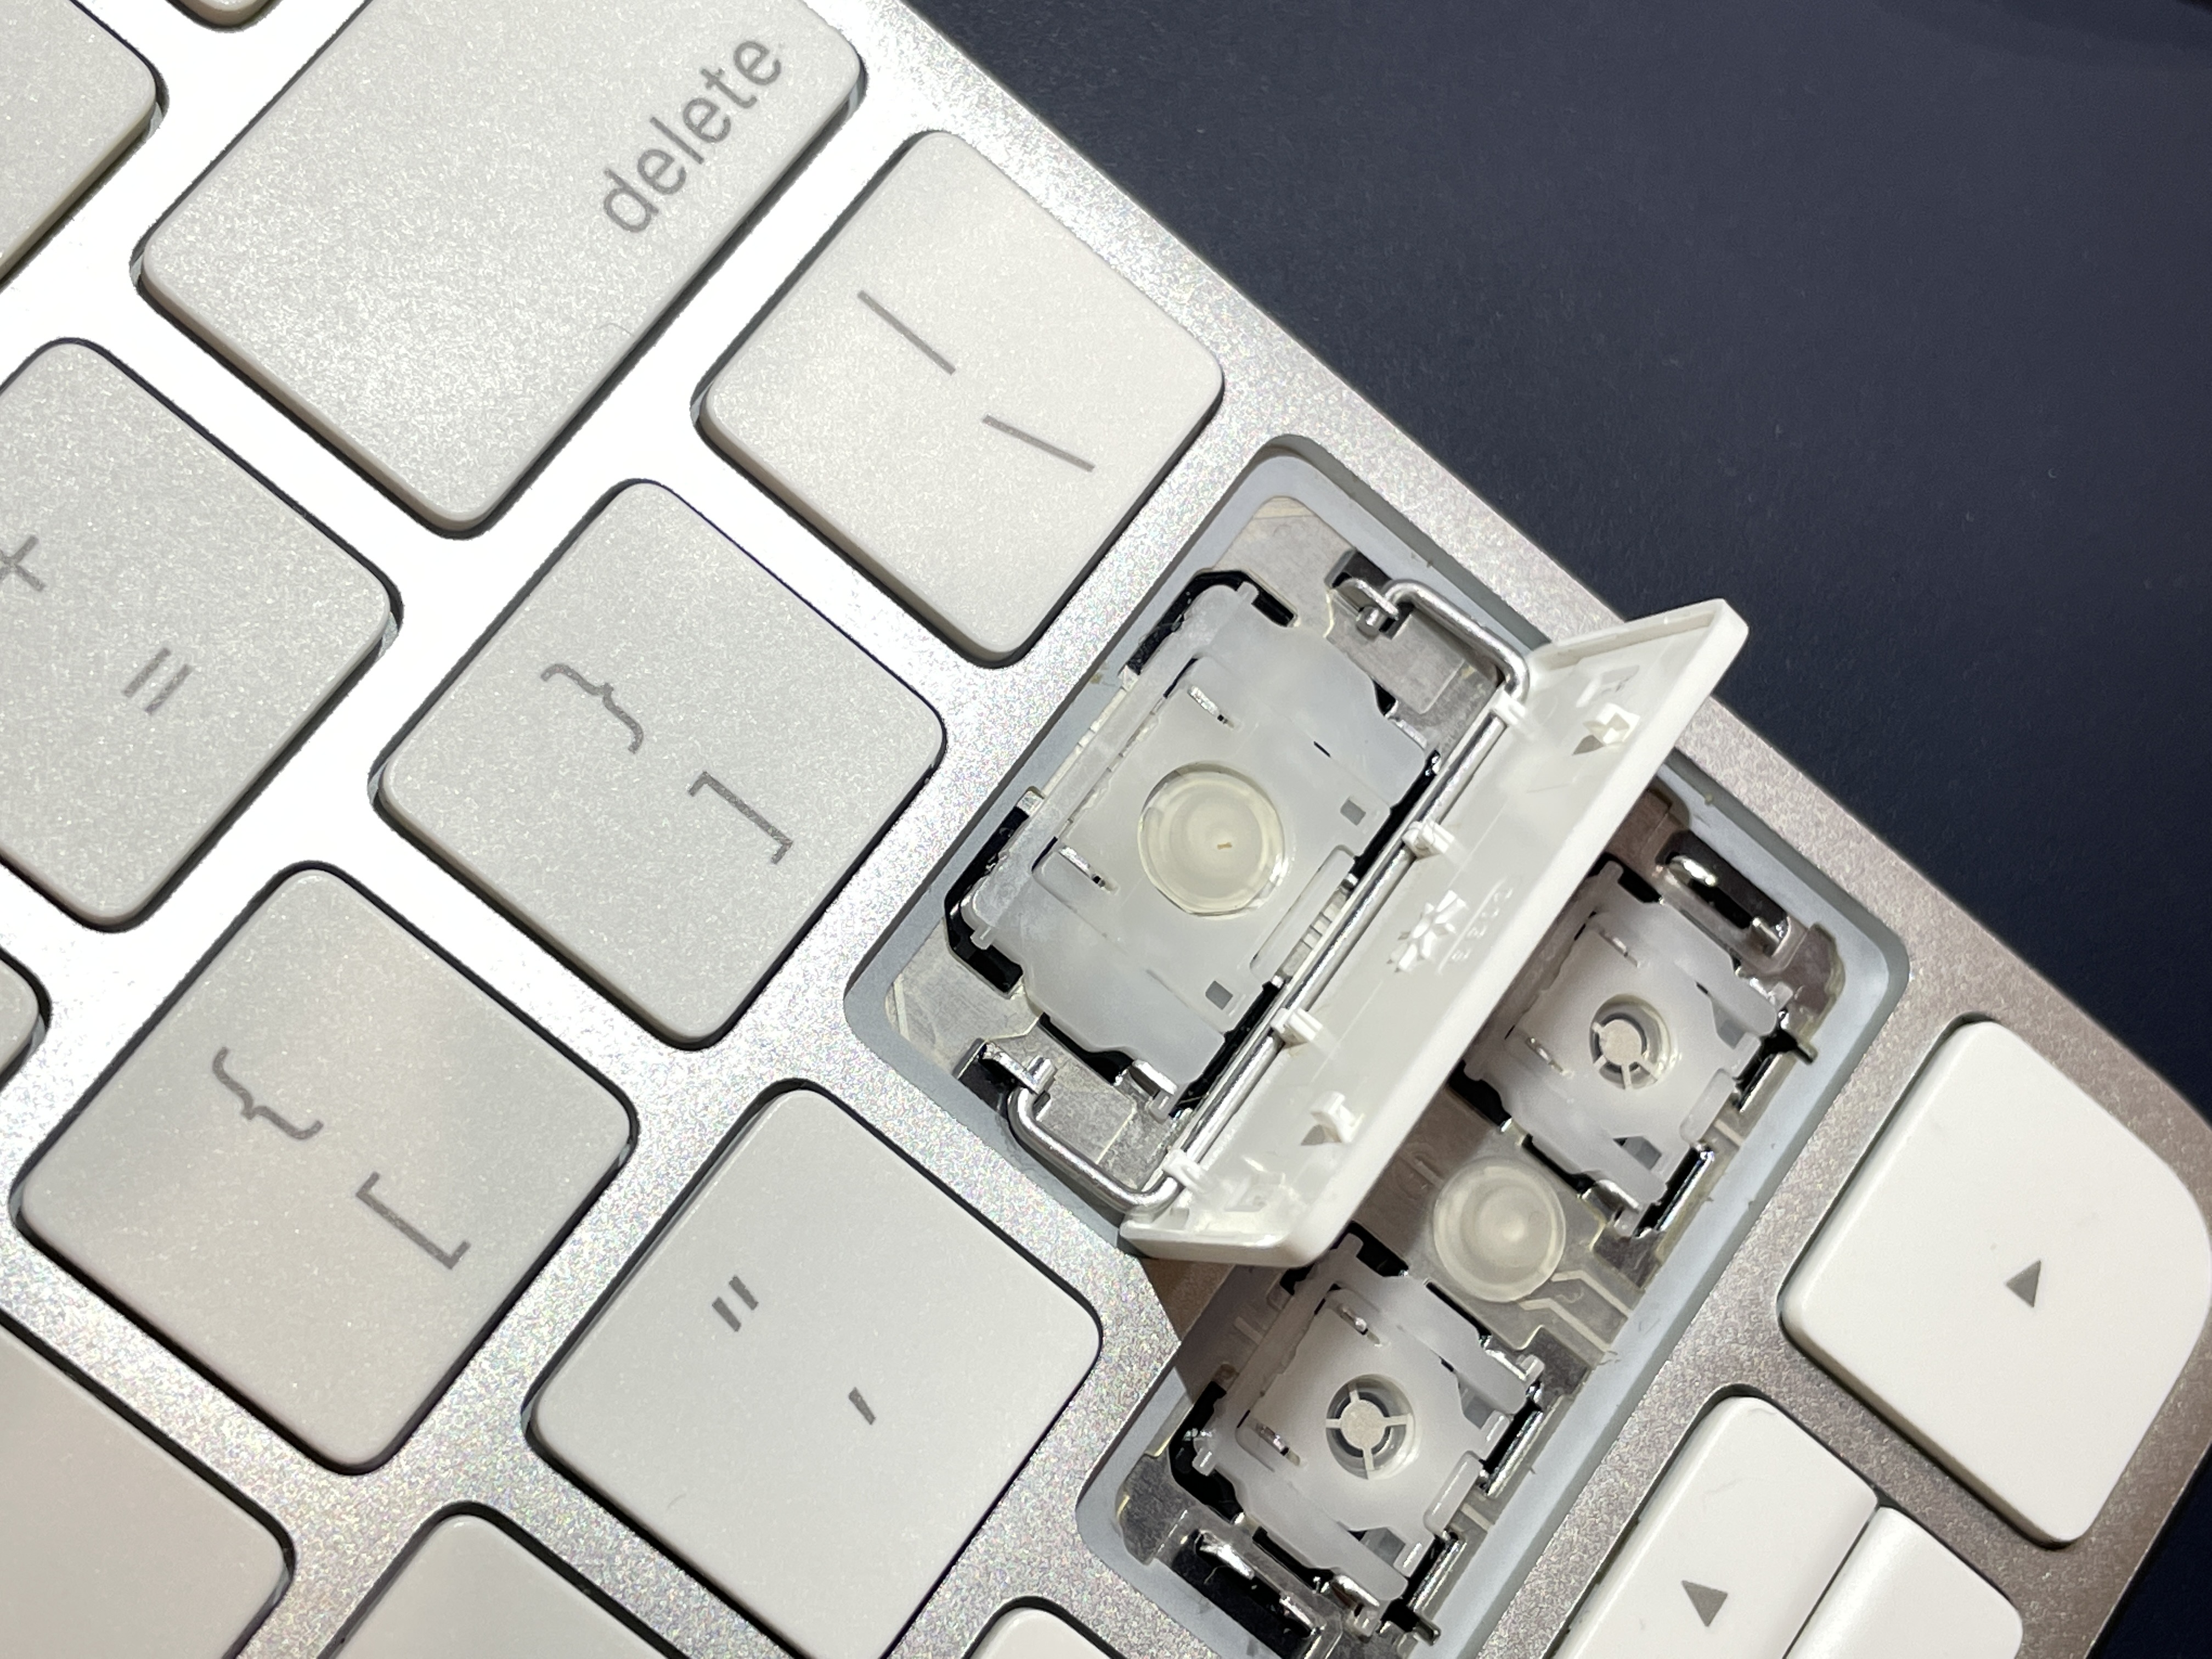
Push the cards into the front side and remove them using the principle of leverage, then remove the back side as well.
意外とやってみるとなんとか取れるもので、ちょっとコツを掴むと普通のキーはサクサク外せます。
とはいえ、全部外してなんかあったら嫌なので、感触が悪い部分だけを外しました。
難しかったのは、shiftキーでしたが、なんとかガチャガチャやって外しました。
キーの裏を見ると、やはりちょっと色の着いた付着物が着いてたので、ベタついている原因だろうと思い、キートップは普通に水道水でしっかり洗い流しました。一方キーボード本体は、アルミとの壁面の部分、パンタグラフのように稼働するキーの部分に対して、薬局で買って来た精製水を綿棒に垂らして拭きまくりました。精製水は純水に近いという事だったので、これで拭けば万が一キーボード内に水が混入してもなんとかなるかなと思ったからです。
しっかり拭きまくりました。
Surprisingly, we managed to get it off, and once we got the hang of it, we were able to easily remove the normal keys.
However, I didn’t want to remove all of them if something happened, so I removed only the parts that didn’t feel good.
The hardest part was the shift key, but I managed to get it off with a bit of fumbling.
When I looked at the back of the keys, I found some colored deposits on them, which I thought might be the cause of the stickiness. On the other hand, on the keyboard itself, I wiped the aluminum wall and the pantograph-like keys with a cotton swab moistened with purified water that I bought at a pharmacy. I was told that purified water is close to pure water, so I thought that if I used this to wipe the keyboard, I could manage even if water got inside the keyboard.
I wiped the keyboard thoroughly.
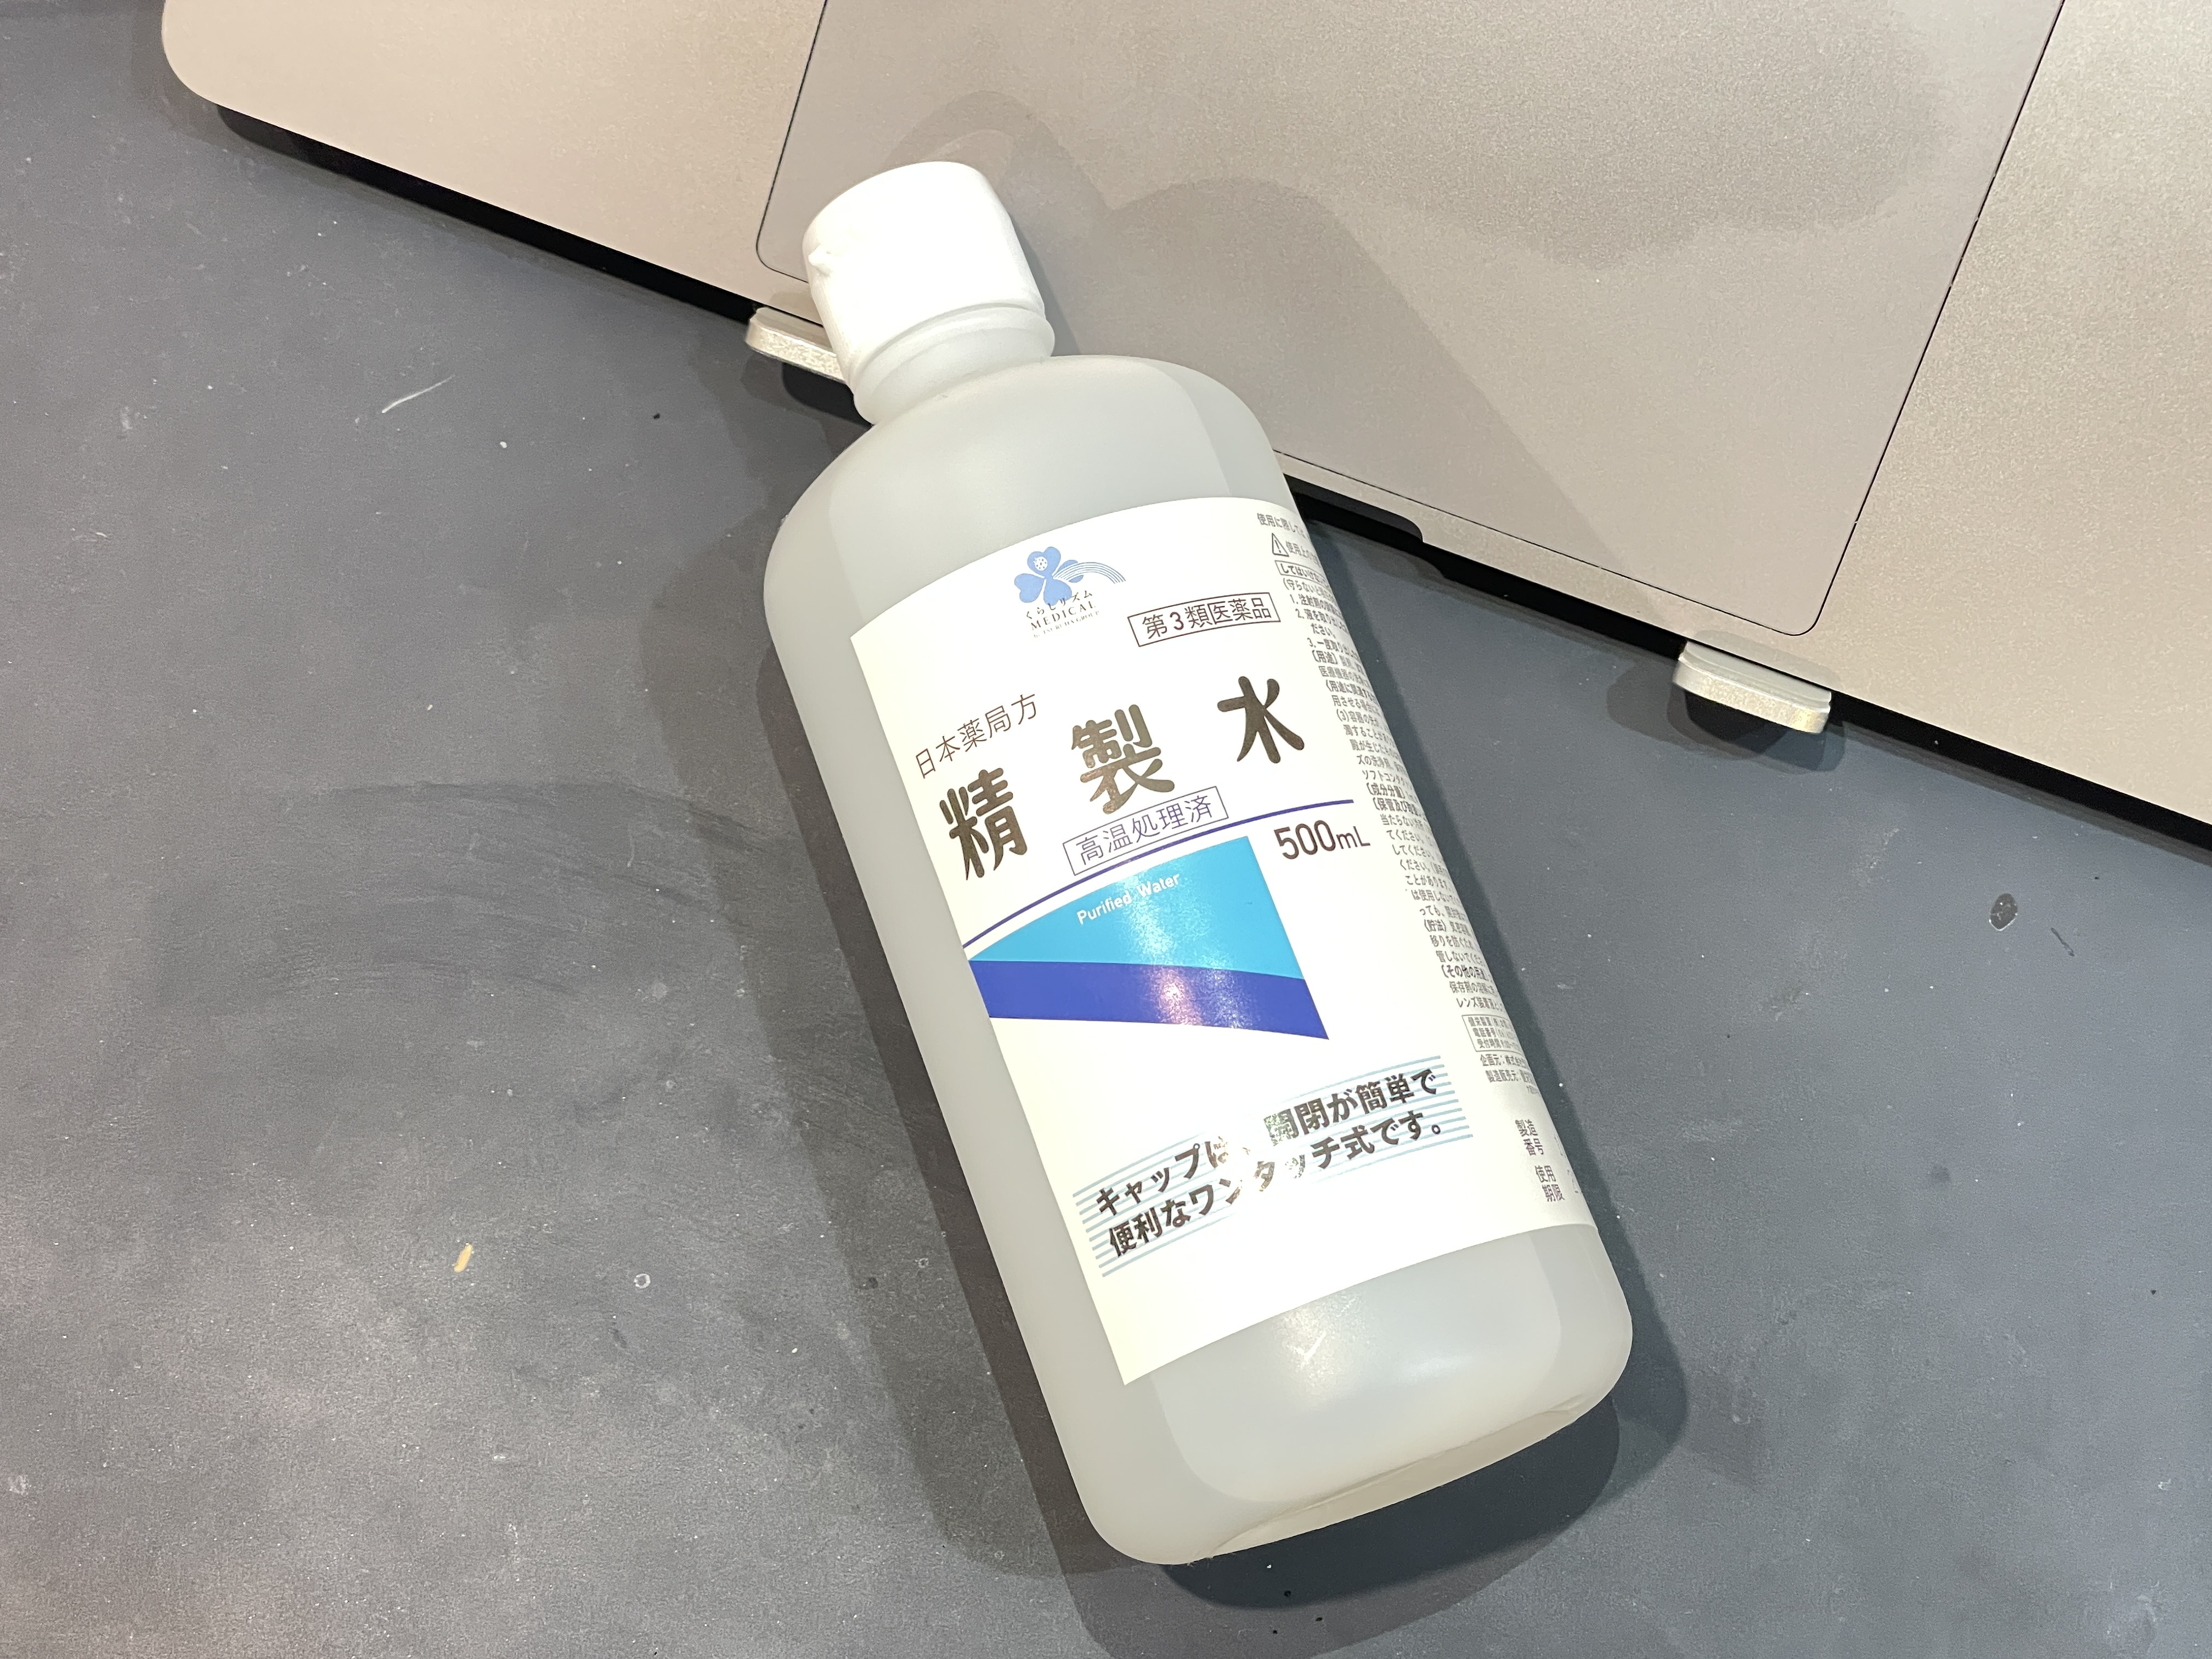
Purified water bought at the pharmacy. I used purified water instead of water because I was afraid of any eventuality.
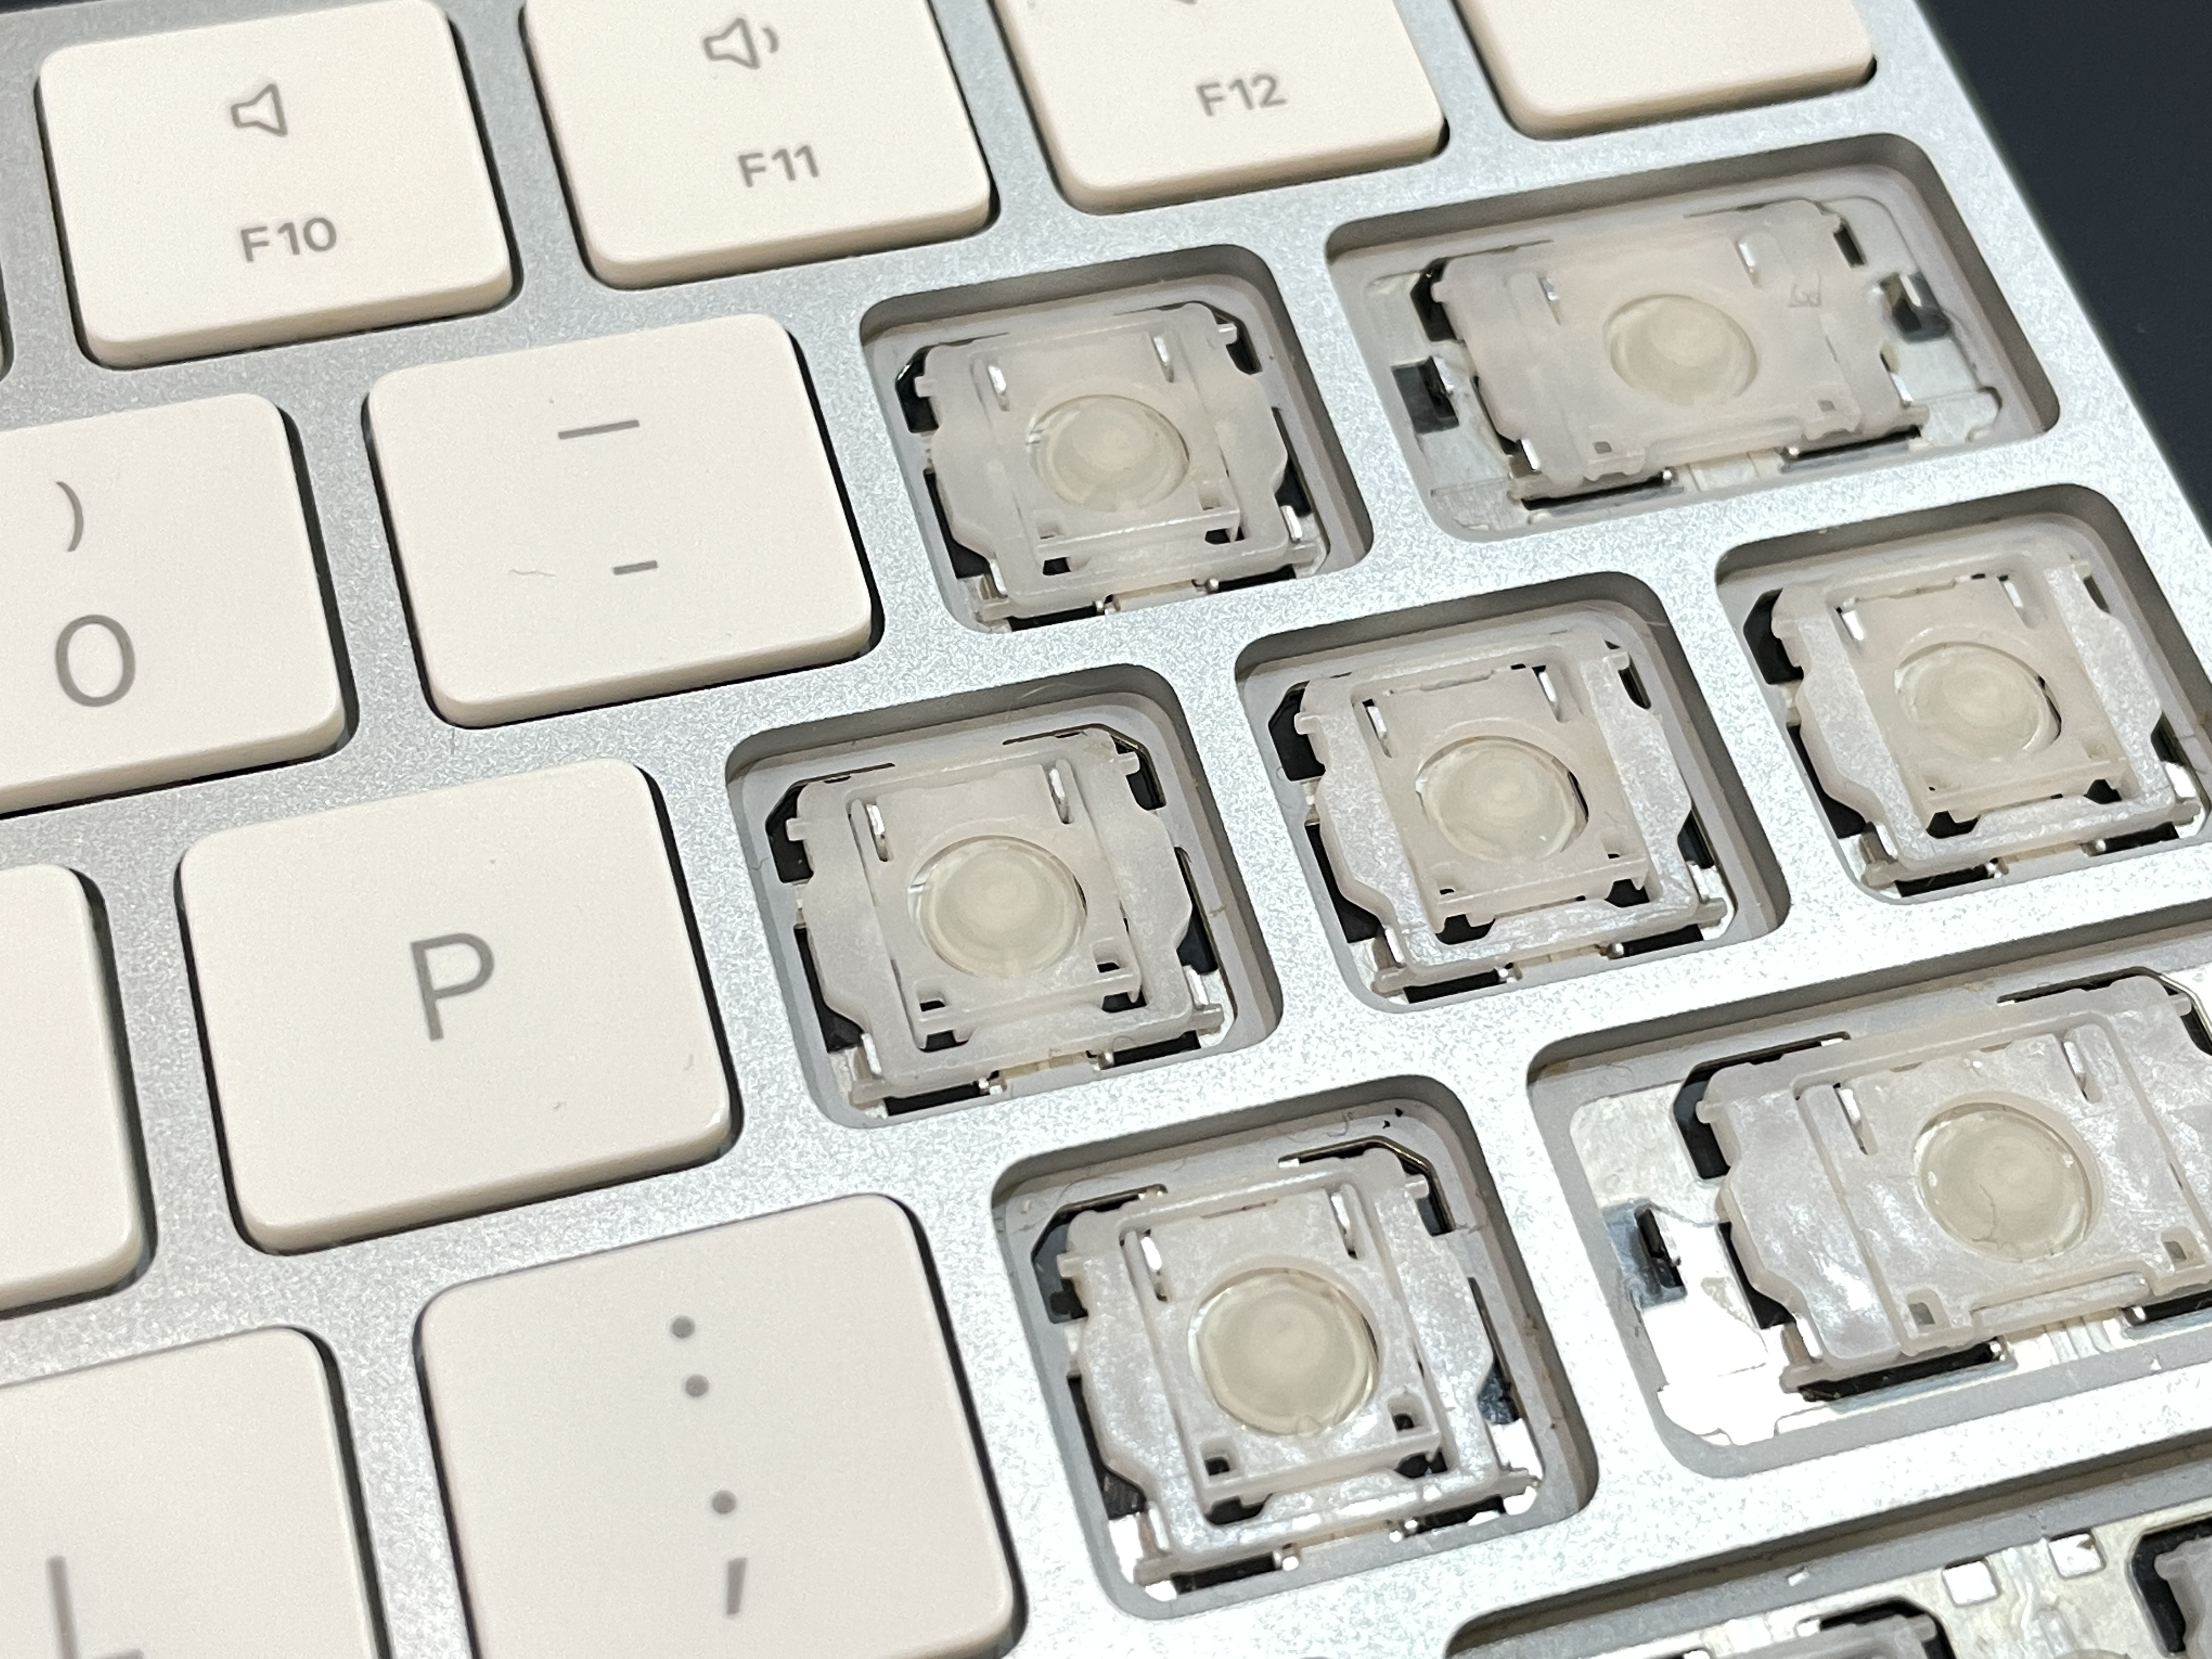
The mechanical parts should also be cleaned.
乾いたら、キートップをハメていきます。上側から差し込んで、パチンと下に押し込んで取り付けます。結構しっかり押し込んでも大丈夫です。
returnキーは、サイズが少し大きいのでワイヤーフレームがあるので、それを引っ掛けながら押し込みます。
Once dry, the key tops were inserted. Insert the keytops from the top, then snap them down to install them. You can push it in quite firmly.
The return key is a bit large, so there is a wire frame, so hook it and push it in.
The RETURN key is a bit tricky. The wireframe must be hooked up first.
shiftキーは、さらにキーが大きいので上下にワイヤーフレームがあります。丁度縦方向の真ん中にワイヤーを引っ掛ける溝があるので、そこにうまく引っ掛けつつ、やはりパチンと音が鳴るまでしっかり押し込みます。
以上です。
無事キーの感触は元の感触に戻りました。
なんとか取り外せましたが、とはいえ正直、心臓にいいものではありませんでした。万が一、どこか折ってしまったら・・・と考えると、ヒヤヒヤもので、キーボードにこぼさないが一番いいのです。
The shift key is even larger and has wire frames at the top and bottom. There is a groove in the middle of the vertical direction to hook the wire frame, so press it in firmly until it clicks.
That’s all.
The keyboard was safely returned to its original feel.
I managed to remove the key tops, but to be honest, it wasn’t good for my heart. I was terrified, thinking of what would happen if I broke something. The most important thing is not to spill water on the keyboard lol.
The feel of the keys was restored and the dirt was cleaned off.
